Rapidly build your own stateless REST-API with neoan3
One of the most common tasks for a web-developer is interacting with an authenticated backend. While a plethora of possibilities are available, the way neoan3 handles things is not only convenient, but also fast and reliable.

Coding along should approx. take you 15 min
What we will be working on:
- Setup
- Adding a simple model
- Writing authentication endpoints
- Final thoughts
Setup
Since we don't want to spend a lot of time on addressing various environments, let's check out the official docker setup for neoan3:
git clone https://github.com/neoan3/docker.git
Our only constraint is the need for docker-compose, so be sure you have that installed (comes with Docker Desktop on Mac & Windows). In order to get started, we will run the following commands:
docker-compose up -d --build
docker-compose exec neoan3 sh
That's it! The hashtag you will see indicates you are executing the service's shell as root.
From here, let's finally get started and create a neoan3 project:
neoan3 new app
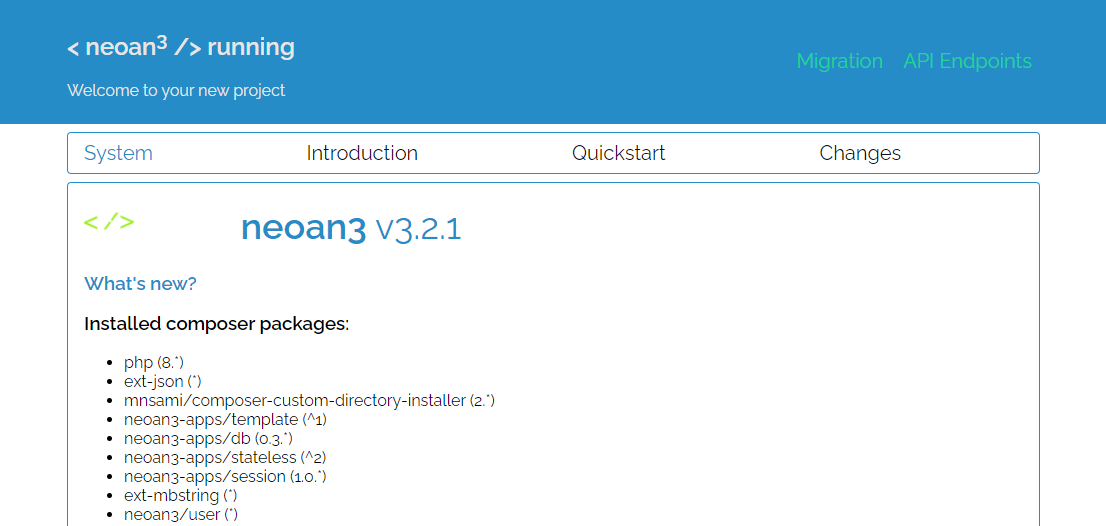
To verify everything works as expected, try visiting http://localhost:8090

Adding a simple user model
The easiest way to get fast results is to use the basic email login.
neoan3 add model https://github.com/neoan3/email-password-auth.git
Later, it makes sense to look at the few lines of relevant code in the folder model/user , but for now we will jump over to migrating the model with our database that shipped with our docker setup. To do so, all you need it to run
neoan3 migrate models up and then choose neoan3_db as the credential key.
To verify the installation of our model has worked as expected, visit http://localhost:8090/migrate and see if you can find "user" in the dropdown.
NOTE: Don't worry about the security-warning you will see on that page. This is just a reminder that you shouldn't deploy this setup without taking the steps lined out in the README of the docker repo we started out with.
Writing authentication endpoints
Let's finally code something, right? Well, almost. Let's get us started with some boilerplate for our endpoints:
neoan3 new component auth -t:api -f:demo
This command will get us to a good starting point and within your project you should find a folder [app]/component/Auth with a file AuthController.php. And that's the file we will work with.
The plan
We want to have the following endpoints at our disposal
- POST /auth (this is our login-endpoint)
- POST /auth/register (this is, well, you guessed right)
- GET /auth (this returns a logged in user or a 401 unauthorized response. We mainly want that for testing.)
FYI: the default api-endpoint behavior is using neoan3 api v1. Our endpoints will therefore be at http://localhost:8090/api.v1/auth
Let's first look at the method postAuth
Since we want both /auth and /auth/register to be handles by this method, our postAuth should look like this:
function postAuth(string $mode = 'Login', array $body=[]): array{if($mode === 'Login'){// for endpoint /auth (or /auth/login)}if($mode === 'Register'){// for endpoint /auth/register}return [];}As you can see, the API converts kebab-case to PascalCase, so something like /auth/log-me-in would be interpreted as LogMeIn.
adding model transactions
We are using PHP8 in our docker setup. This makes it possible to load injections via AttributeMy IDE does most of this for me, but be sure to have bothuse Neoan3\Provider\Model\InitModel; anduse Neoan3\Model\User\UserModel; after the namespace of your file
// 1. Load our user model#[InitModel(UserModel::class)]function postAuth(string $mode = 'Login', array $body=[]): array{// 2. pass the payload (body) to the corresponding model-methodif($mode === 'Login'){// for endpoint /auth (or /auth/login): send the credentials to login$user = UserModel::login($body);}if($mode === 'Register'){// for endpoint /auth/register: send the credentials to register$user = UserModel::register($body);}// 3. create a JWT token$auth = $this->provider['auth']->assign($user['id'], ['user','self'], $user);return ['token' => $auth->getToken()];}GET /auth
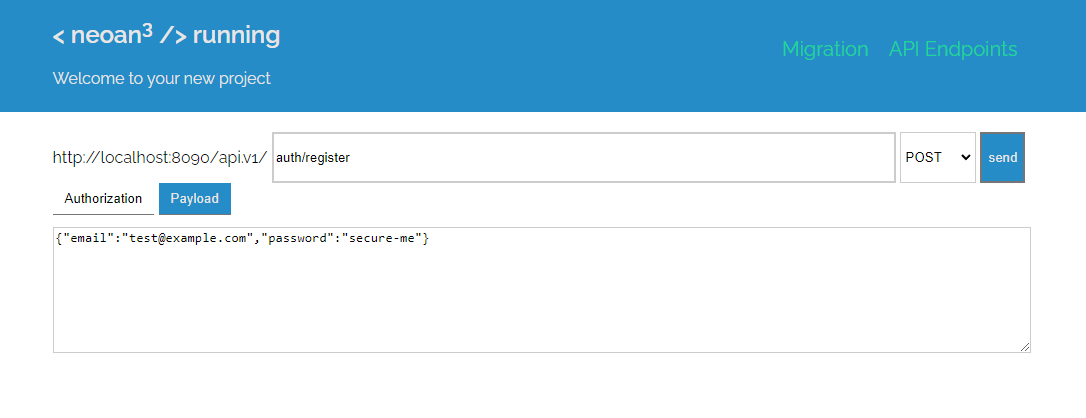
In order to try this out without a front-end we can use neoan3's on-board helper located at http://localhost:8090/endpoint
But first, let's built our GET-method. The most basic usage would be to restrict access to our GET-endpoint unless authenticated:
// 1. Add the authorization Attribute#[Authorization('restrict')]function getAuth(): array{// 2. read the JWT$auth = $this->provider['auth']->validate();// 3. return its content to the client without exposing the identifierreturn $auth->getPayload();}Now we can jump over to http://localhost:8090/endpoint and start with our test-scenario:
- Creating a user:
Set the endpoint to "auth/register" with the method POST, adding a JSON-payload like{"email":"test@example.com","password":"secure-me"}
When hitting send you should get an answer with a token
- Test authentication
Copy the content of the token and paste it into the input field at the authorization-tab, then switch the method to GET after setting the endpoint to auth.
You should now receive your user back.

Final thoughts
First of all: did you run in any kind of issues? Let me know. Otherwise, I hope you are able to derive how easy it is to work with persistent data with neoan3 beyond a user model. Lastly, let's talk about CORS.I don't know what your plans for the frontend are. Whenever you get into a scenario where you run your application outside of the docker container (e.g. while developing a VueJS app), you will likely have a development server with a port (e.g. 8080). In order to work with cross-origin requests, please find the file default.php and adjust the allowed_origins accordingly (wildcard works, but be aware of the implications)
Happy coding

